SWOSC

  1. SWOSC-V
    Suzuki Garphyttan www.suzuki-garphyttan.com

    SWOSC-V

    Oil tempered SiCr-alloyed valve spring wire
    Only manufactured in China

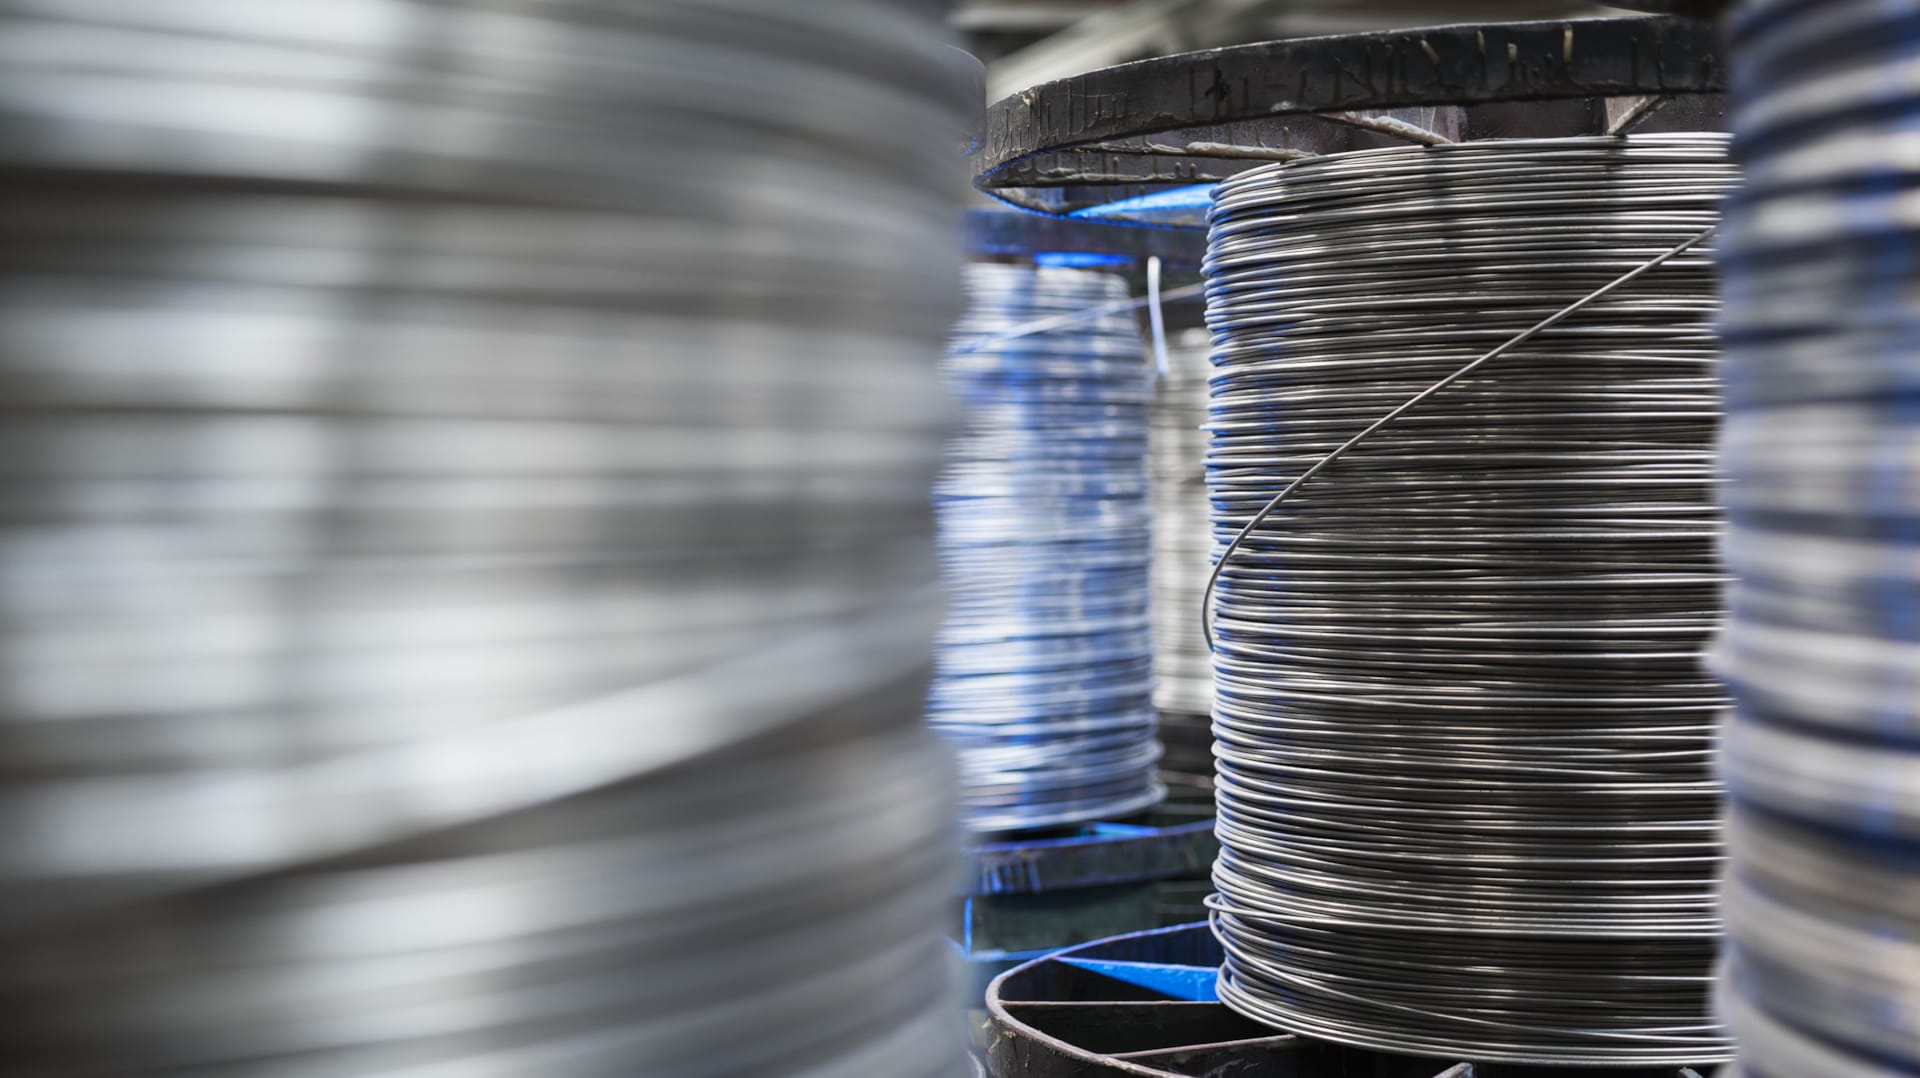
    SWOSC-V is a Super Clean steel, especially intended for the manufacture of valve springs and other springs requiring high fatigue properties and good relaxation properties at moderately increased working temperature.

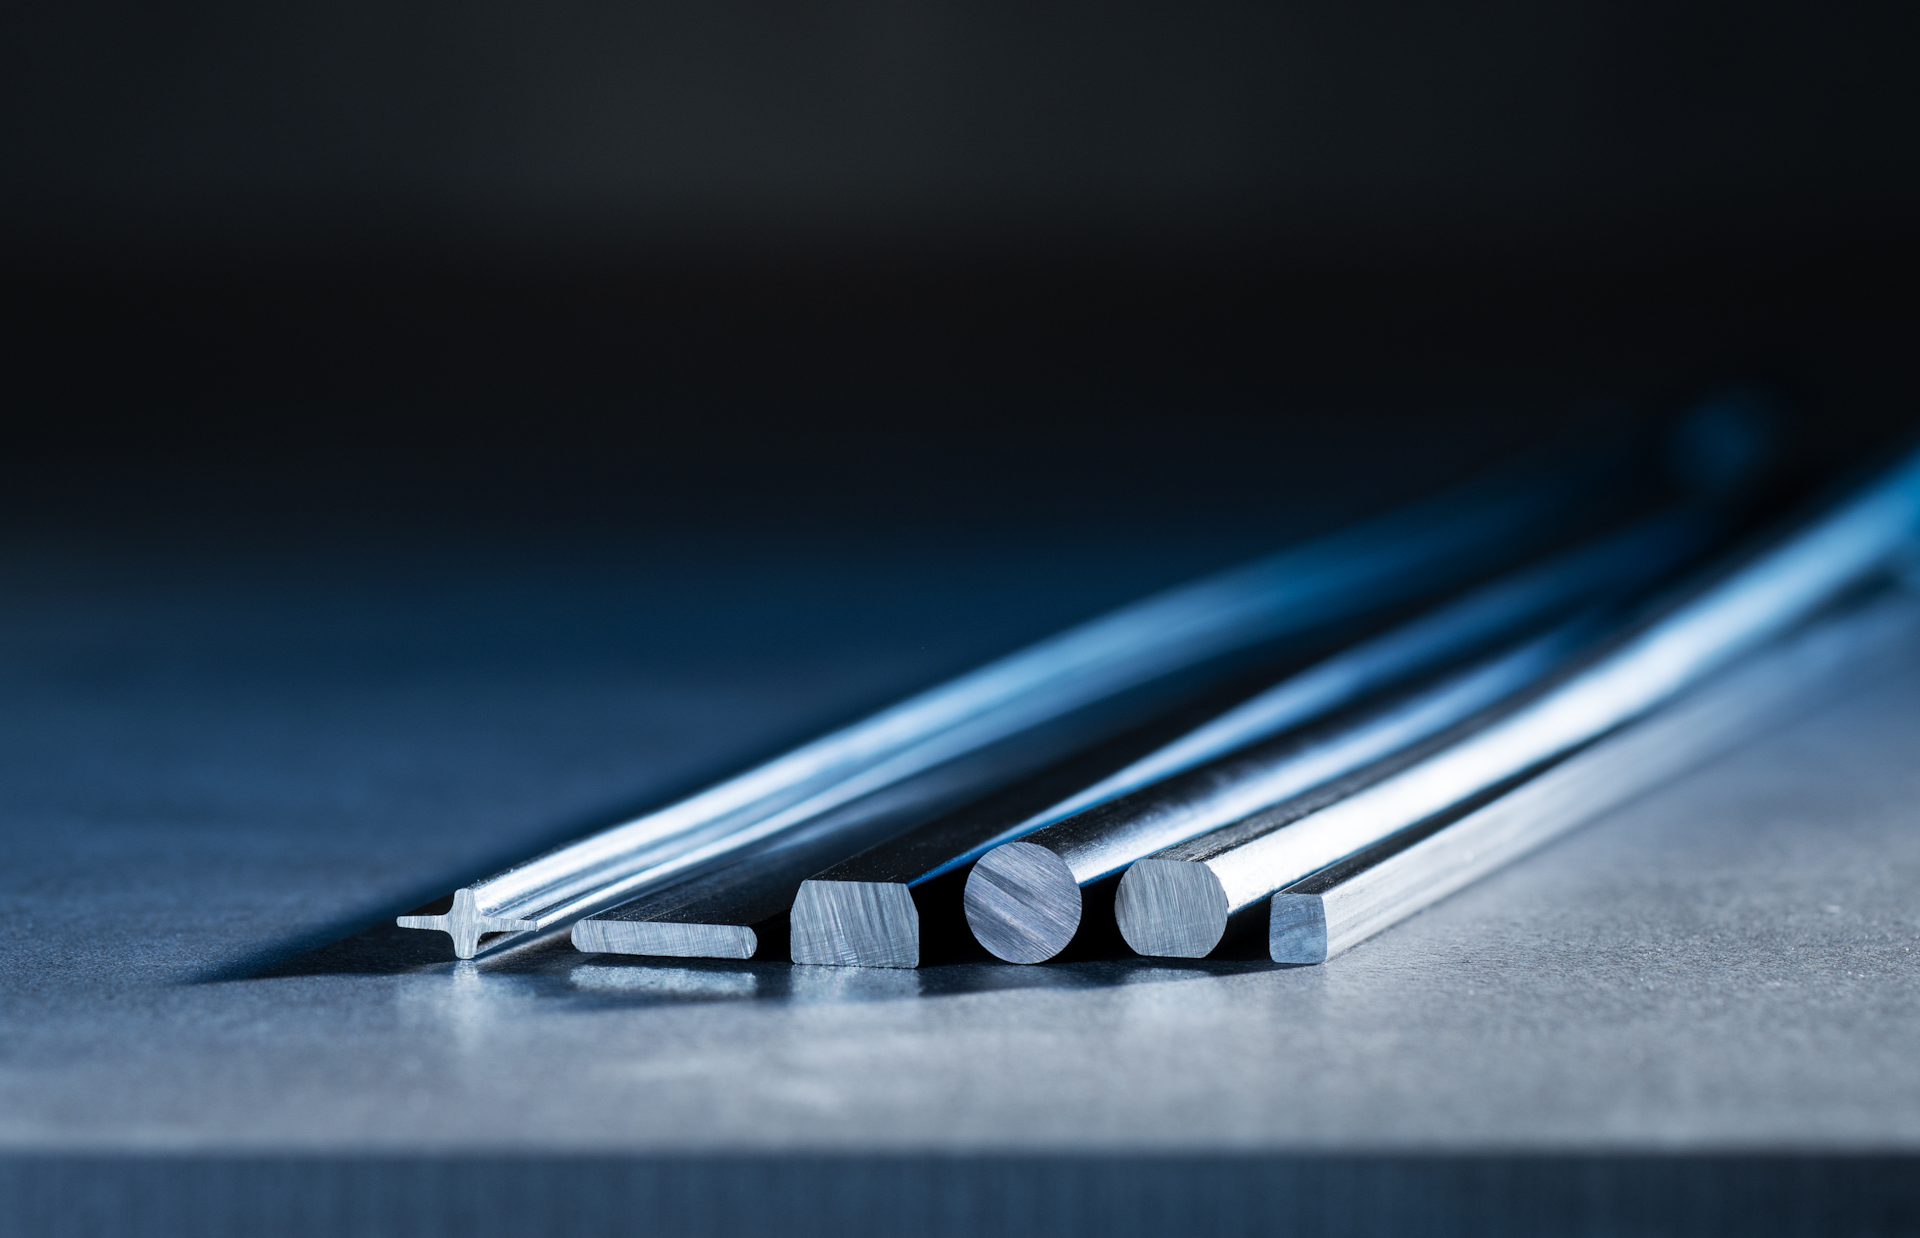
    The wire is manufactured in shaved condition in sizes from Ø 1.60 mm to 6.50 mm, or in egg or elliptical shape (corresponding to round cross section 2.50 mm to 6.50 mm). Other wire sizes on request.

    Chemical composition

    C (%) Si (%) Mn (%) P max. (%) S max. (%) Cr (%)
    0.50 - 0.60 1.20 - 1.60 0.50 - 0.80 0.025 0.020 0.50 - 0.80

    Cleanliness in steel

    The presence of non-metallic inclusions in the wire rod is inspected for every heat of SWOSC-V in accordance with the Suzuki Garphyttan method by the steel supplier.

    Before release for production, Suzuki Garphyttan performs non-metallic inclusion inspection for every fifth heat. The criteria for supplier inspection and releasing inspection are the following;

    For wire rod samples: Inclusion size max. 15 µm down to 1 mm below surface. Inspection area: 1 000 mm2.

    Inclusion size, surface 5-10 µm >10-15 µm >15 µm
    Max. number of inclusions 50 7 0
    For SWOSC-V, every heat is inspected including a SEM-EDS analysis of inclusions > 10µm to verify a Super Clean composition.
     

    As stated by IVSWMA, International Valve Spring Wire Ma­nu­­fac­turers Association, it is likely to find occasional inclusions in valve spring quality steel of a size larger than 30 µm.

    Mechanical properties

    1) Other wire sizes on request.
    2) Ovality, i. e. the difference between the largest and smallest dimension of a cross section, is maximum half the tolerance range.
    3) Conversion from tensile strength to hardness values can be calculated in standard ISO EN 18265. The tensile strength Rm within one coil does not vary more than 50 N/Mm2.
    4) Torsion test is carried out for assessing deformability. The fracture of the torsion test piece shall be smooth and perpendicular to the wire axis. The rupture shall show no longitudinal cracks.

    For round wire

    Diameter (mm) Tolerance (mm) Tensile Strength (N/mm²) Torsions (l=300 mm, min. revs) Reduct. of area (min. %)
    1.60 - 2.00 ±0.020 2010 - 2160 5 50
    2.01 - 2.50 ±0.020 1960 - 2060 5 50
    2.51 - 3.00 ±0.020 1910 - 2010 4 50
    3.01 - 3.20 ±0.020 1910 - 2010 4 45
    3.21 - 3.50 ±0.025 1910 - 2010 4 45
    3.51 - 4.50 ±0.025 1860 - 1960 4 45
    4.51 - 5.00 ±0.025 1810 - 1910 3 45
    5.01 - 5.60 ±0.030 1810 - 1910 3 40
    5.61 - 6.00 ±0.035 1760 - 1860 3 40
    6.01 - 6.50 ±0.035 1760 - 1860 40

    Yield point

    The proof stress Rp0.2 is min. 0.9 x tensile strength of the wire.

    Surface conditions

    Surface condition

    Surface condition – non-destructive testing
    In the standard size range 2.00 - 6.00 mm the wire is tested continuously in Eddy Current equipment to a surface level of ≥ 40 microns. Other wire sizes on request.

    Surface condition – end sample test
    The wire is end sample tested by means of etch testing and binocular inspection as well as microscopical inspection of the material structure.

    Max. permissible depth of partial surface decarburization and surface defects, 1 % x wire diameter. In shaved condition; for diameters <=2 .00 mm 10 µm, for diameters > 2.00 mm 0.5% x d.

    Physical properties

    E and G modulus of elasticity

    206 kN/mm²

    E and G modulus of shear

    79.5 kN/mm²

    Standards

    Nearest equivalent steel grades

    EN VDSiCr, SIS 142090-05

    Nearest equivalent standards

    EN 10270-2, ASTM A877, BS 2803 685A55HD, JIS G3561 SWOSC-V

    Recommendations

    Heat treatment

    As soon as possible after coiling, the springs should be stress relieved.

    Hot presetting

    After shot peening, the springs should be hot preset or stress relieved. In order to reach optimum fatigue and relaxation properties, the springs must be preset at an appropriate stress.

    Shot peening

    In order to obtain optimum fatigue properties, the process time should be adjusted to get a complete treatment. Size of shots should be adapted to wire dimension, pitch and shot peening equipment.

    Shot peening of the inside of the spring coils is particularly critical.

    Spring Conditions For Tests

    Spring conditions for fatigue and relaxation tests (specially designed test spring) Diagram 1 and 2:
    Wire size Ø 4.00 mm
    Diameter external 28.00 mm
    Spring length, l0 59.5 mm
    N active 4.80
    Spring index 6.0
    Shot peening Speed 48 m/sec. for 20 minutes, size of shots 0.8 mm
    Hardness of Shot-peening grit (shot): 610-670 Hv
    Aim for Almen arc-height Min. 0.40-0.45 mm
    Hot presetting
    (theoretically set)
    1200 N/mm2
    Temperature 200°C (max. 250°C)
    Time 10 minutes

    The presence of non-metallic inclusions in the wire rod is inspected for every heat of SWOSC-V in accordance with the Suzuki Garphyttan method by the steel supplier. Before release for production, Suzuki Garphyttan performs non-metallic inclusion inspection for every fifth heat. The criteria for supplier inspection and releasing inspection are the following; For wire rod samples: Inclusion size max. 15 µm down to 1 mm below surface. Inspection area: 1 000 mm2.

    Inclusion size, surface 5-10 µm >10-15 µm >15 µm
    Max. number of inclusions 50 7 0

    For SWOSC-V, every heat is inspected including a SEM-EDS analysis of inclusions > 10µm to verify a Super Clean composition.

    As stated by IVSWMA, International Valve Spring Wire Ma­nu­­fac­turers Association, it is likely to find occasional inclusions in valve spring quality steel of a size larger than 30 µm.
     

    Relaxation And Fatigue Properties

    In diagram 1 the fatigue properties of this grade are illustrated in a Goodman-diagram, based on a special test spring design.

    Diagram 2 shows the relaxation properties (loss of load) of springs made from SWOSC-V wire subjected to static compression at different temperatures.

    Additional

    Additional information

    Delivery forms


    See separate sheet.


  2. SWOSC-VHV
    Suzuki Garphyttan www.suzuki-garphyttan.com

    SWOSC-VHV

    Oil tempered SiCrV-alloyed high tensile valve spring wire
    Only manudactured in China

    SWOSC-VHV is a Super Clean steel, especially intended for the manufacture of valve springs and other springs requiring high fatigue properties and good relaxation properties at moderately increased working temperatures.

    The wire is manufactured in shaved condition in sizes from Ø 1.60 mm to 6.50 mm, or in egg or elliptical shape (corresponding to round cross section 2.50 mm to 6.50 mm). Other wire sizes on request.

    Chemical composition

    C (%) Si (%) Mn (%) P max. (%) S max. (%) Cr (%) V (%)
    0.50 - 0.70 1.20 - 1.65 0.50 - 0.80 0.020 0.020 0.50 - 1.00 0.05 - 0.20

    Cleanliness in steel

    The presence of non-metallic inclusions in the wire rod is inspected for every heat of SWOSC-VHV in accordance with the Suzuki Garphyttan method by the steel supplier.

    Before release for production, Suzuki Garphyttan performs non-metallic inclusion inspection for every fifth heat. The criteria for supplier inspection and releasing inspection are the following;

    For wire rod samples: Inclusion size max. 15 µm down to 1 mm below surface. Inspection area: 1 000 mm2.

    Inclusion size, surface 5-10 µm >10-15 µm >15 µm
    Max. number of inclusions 50 7 0

    For SWOSC-VHV, every heat is inspected including a SEM-EDS analysis of inclusions > 10µm to verify a Super Clean composition.

    As stated by IVSWMA, International Valve Spring Wire Manufacturers Association, it is likely to find occasional inclusions in valve spring quality steel of a size larger than 30 µm.

    Mechanical properties

    1)   Other wire sizes on request.
    2)   Ovality, i. e. the difference between the largest and smallest dimension of a cross section, is maximum half the tolerance range.
    3)   Conversion from tensile strength to hardness values can be calculated in standard ISO EN 18265. The tensile strength Rm within one coil does not vary more than 50 N/mm2.
    4)  Torsion test is carried out for assessing deformability. The fracture of the torsion test piece shall be smooth and perpendicular to the wire axis. The rupture shall show no longitudinal cracks.

    For round wire

    Diameter (mm) Tolerance (mm) Tensile Strength (N/mm²) Torsions (l=300 mm, min. revs) Reduct. of area (min. %)
    1.60 - 2.00 ±0.020 2160 - 2260 5 45
    2.01 - 2.50 ±0.020 2110 - 2210 5 45
    2.51 - 3.20 ±0.020 2060 - 2160 5 45
    3.21 - 4.00 ±0.025 2010 - 2110 4 45
    4.01 - 5.00 ±0.025 1960 - 2060 3 45
    5.01 - 5.60 ±0.030 1910 - 2010 3 40
    5.61 - 6.00 ±0.035 1910 - 20100 3 40
    6.01 - 6.50 ±0.035 1910 - 2010 35

    Yield point

    The proof stress Rp0.2 is min. 0.9 x tensile strength of the wire.

    Surface conditions

    Surface condition

    Surface condition – non-destructive testing
    In the standard size range 2.00 - 6.00 mm the wire is tested continuously in Eddy Current equipment to a surface level of ≥ 40 microns. Other wire sizes on request.

    Surface condition – end sample test
    The wire is end sample tested by means of etch testing and binocular inspection as well as microscopical inspection of the material structure.
    Max. permissible depth of partial surface decarburization and surface defects, 1 % x wire diameter. In shaved condition; for diameters <=2 .00 mm 10 µm, for diameters > 2.00 mm 0.5% x d.

    Physical properties

    E and G modulus of elasticity

    206 kN/mm²

    E and G modulus of shear

    79.5 kN/mm²

    Standards

    Nearest equivalent steel grades

    EN VDSiCrV

    Nearest equivalent standards

    EN 10270-2

    Recommendations

    Heat treatment

    As soon as possible after coiling, the springs should be stress relieved.

    Hot presetting

    After shot peening, the springs should be hot preset or stress relieved. In order to reach optimum fatigue and relaxation properties, the springs must be preset at an appropriate stress.

    Shot peening

    In order to obtain optimum fatigue properties, the process time should be adjusted to get a complete treatment. Size of shots should be adapted to wire dimension, pitch and shot peening equipment.

    Shot peening of the inside of the spring coils is particularly critical.

    Spring Conditions For Tests

    Spring conditions for fatigue and relaxation tests (specially designed test spring) Diagram 1 and 2:
    Wire size Ø 4.00 mm
    Diameter external 28.00 mm
    Spring length, l0 59.5 mm
    N active 4.80
    Spring index 6.0
    Stress relieving  
    Temperature 420 ±5°C (790 ±10 °F)
    Time 30 minutes
    Shot peening (double shot peening)  
    1st treatment Speed 56 m/sec. for 20 minutes, size of shots 0.8 mm
    2nd treatment Speed 30 m/sec. for 10 minutes, size of shots 0.8 mm
    Hardness of Shot-peening grit (shot): 610-670 Hv
    Aim for Almen arc-height Min 0.45 mm
    Hot presetting
    (theoretically set)
    1300 N/mm2
    Temperature 200°C (max. 250°C)
    Time 10 minutes

    Relaxation And Fatigue Properties

    In diagram 1 the fatigue properties of this grade are illustrated in a Goodman-diagram, based on a special test spring design.

    Diagram 2 shows the relaxation properties (loss of load) of springs made from SWOSC-VHV wire subjected to static compression at different temperatures.